
Air Sealing Basics: Where Your Home Loses Heat
Learn how drafts move through a house and which gaps are worth sealing first.
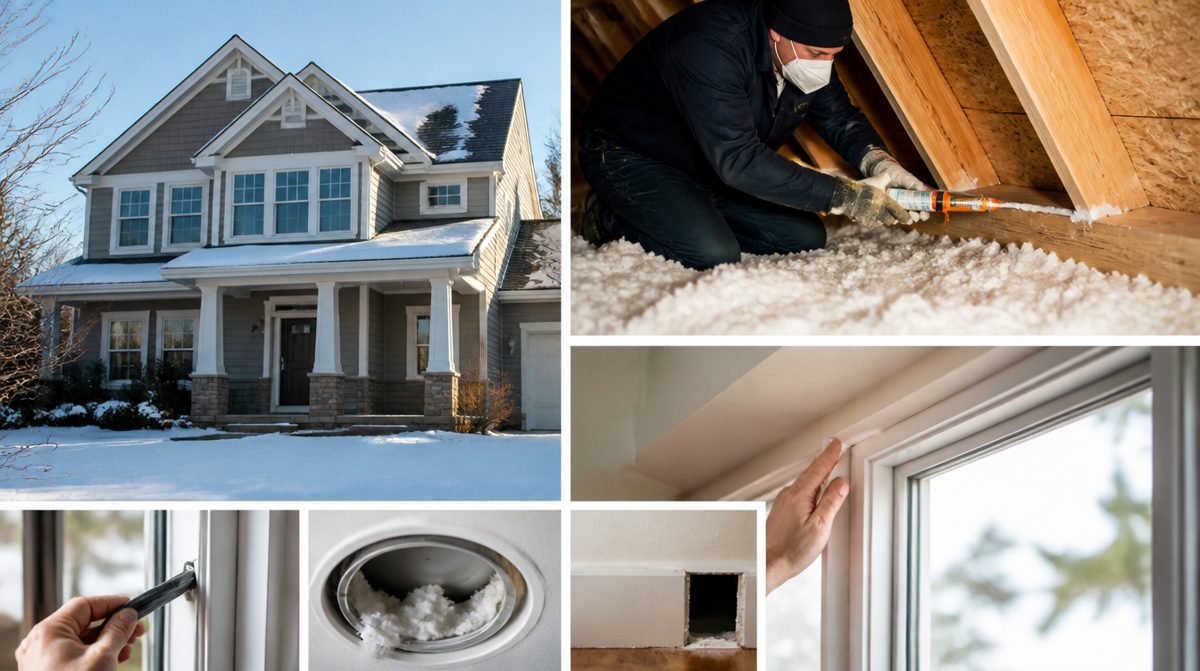
When people think about saving energy at home, they often think of new windows or a new furnace. Yet one of the most effective improvements is also one of the least glamorous: sealing the small gaps that let conditioned air leak out and outdoor air leak in. This guide explains how air moves through a house and how to start on the most common leaks.
How Air Leaks Happen
Air moves through a house because of pressure differences. Warm air rises and escapes through the upper parts of the home, which pulls cooler air in through lower gaps. Wind adds to the effect by pushing air through cracks on the windward side. Exhaust fans and fireplaces also pull air out, and replacement air has to come in from somewhere. The result is a constant flow that can make rooms feel drafty and make your heating and cooling work harder.
The Usual Suspects and How to Find Them
Most air leakage hides in a handful of spots. Knowing where to look saves time.
- Gaps around the attic hatch, recessed lights, and wiring or plumbing holes that pass into the attic
- The rim area where the foundation meets the wood framing, often visible in a basement or crawl space
- Gaps around windows and exterior doors
- Gaps where pipes, vents, and cables pass through exterior walls
- Electrical outlets and switches on exterior walls
- Fireplace dampers that do not close tightly
- Ductwork seams that run through unconditioned spaces
Finding the Leaks
On a cool, breezy day, walk through the house and hold your hand near suspected gaps. You can also use a stick of incense or a lightweight tissue to watch for moving air. Look for dirt stains on insulation, which can reveal where air has been filtering through. Some utilities and energy programs offer home energy assessments, and a professional auditor can use specialized tools to find leaks that are hard to spot. Check with your local utility or a qualified energy auditor for what is available in your area.
Materials and What They Do
- Caulk seals small, stationary cracks such as those around window trim and where different materials meet.
- Weatherstripping seals moving parts like doors and operable windows, and comes in several styles for different gaps.
- Expanding foam fills larger gaps around pipes and wires, though the right type matters near heat sources.
- Door sweeps close the gap under exterior doors.
- Outlet gaskets reduce drafts through electrical boxes on exterior walls.
- Foam board and sealant are often used to seal the attic hatch and cover openings.
Safety Considerations
Sealing a house tighter changes how it breathes, and that matters for safety. Fuel-burning appliances such as furnaces, water heaters, and fireplaces need an adequate supply of air and proper venting. Never seal around flues, vent pipes, or combustion air openings. Do not pack insulation against recessed lights unless they are rated for contact. Make sure your carbon monoxide detectors work before and after you finish. If you are unsure, consult a qualified professional or your local building authority. Good ventilation, including bathroom and kitchen exhaust fans, remains important for moisture and indoor air quality.
Where to Start
- Seal the attic hatch and obvious gaps in the attic floor.
- Caulk and weatherstrip doors and windows.
- Seal penetrations where pipes and wires enter the house.
- Address the basement rim area if it is accessible.
- Consider an energy assessment before tackling larger, hidden leaks.
Air sealing and insulation work together. Insulation slows heat flow through materials, while air sealing stops moving air from carrying heat around it. Sealing first makes the insulation you have more effective.
Takeaway: Find the biggest gaps, seal them with the right materials, and never block combustion air or vents. Modest air sealing can make a house more comfortable year-round.